ComputeMode™ 1.4 Server Setup
This manual will help you install and configure your ComputeMode™ server.
REQUIREMENTS:
- a spare PC with a harddrive you can erase (server) - at least Pentium 1GHz, 256MB RAM, Ethernet100, 4GB harddisk, a CD-Rom reader.
WARNING: the hard disk contents will be erased by ComputeMode installation.
- a spare PC supporting PXE boot (also called as network boot)
For testing purposes you may want to install it in a VMware virtual machine or try a free alternative (qemu, bochs, ...)
Stage 1: Installing the ComputeMode™ server
- Download the ComputeMode Server installation CD-Rom ISO from the download page.
- Burn it on a CD-R(W).
- Boot the PC you want to be the ComputeMode server with this CD-Rom. You will be shown with the screen below:
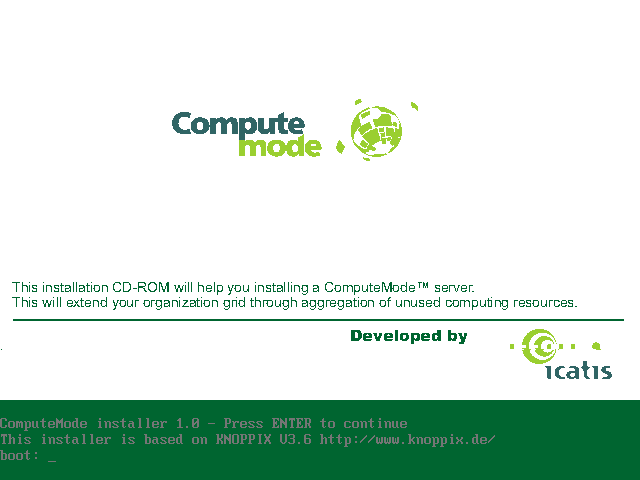
Press Enter.
Note: If you have specific hardware (CCISS) RAID
adapter, you will have further operations to do.
- The system should now load and take you to the ComputeMode installation banner.

Read the licensing text, if you agree with it choose "YES" to continue.
- Choose your keyboard flavor with the arrows.
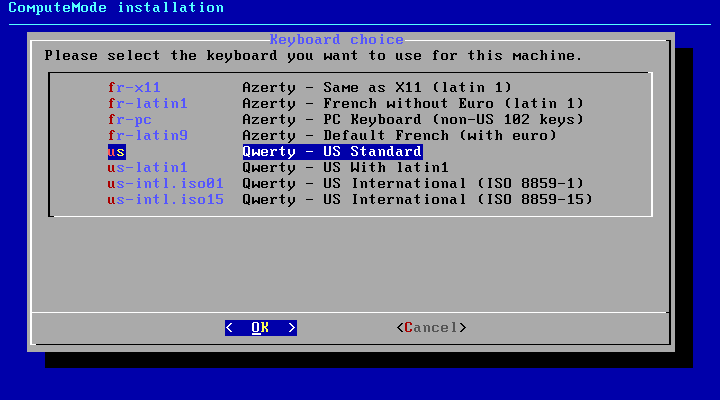
Press "OK" when done.
Note: Currently, only French and US keyboards are
supported at this stage. You will be able to change the default keyboard once
the server installation is done.
- Choose the hard disk on which you want to install ComputeMode.
WARNING: the hard disk contents will be erased.

Press "OK" when done.
- The system installation starts and shows several non-interactive screens as it progresses.
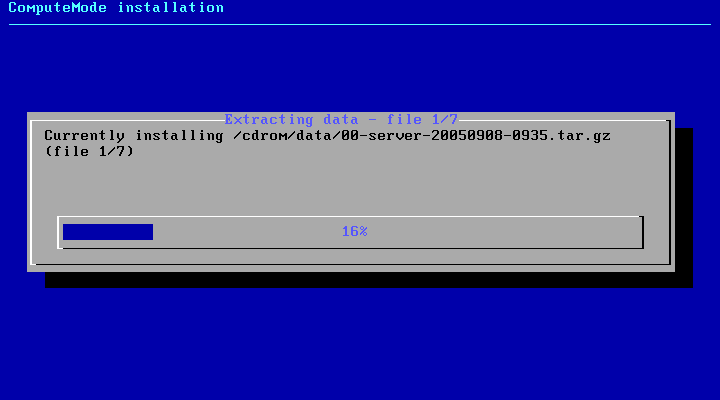
This part of the installation lasts several minutes and will not require your attention. Enjoy a break!
- Then, you reach the networking setup dialog.
It allows you to specify how you will access your ComputeMode server from your intranet.
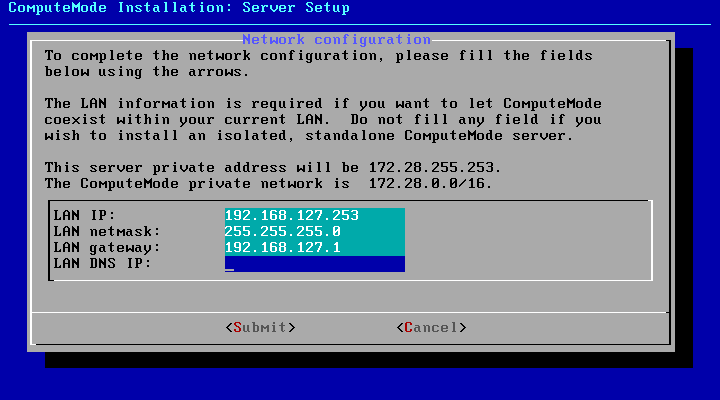
Use the arrows to browse the different fields.
If you specify an IP/netmask which is valid in your LAN, it will
allow you to access the ComputeMode server from your workstation.
If you specify a gateway, it will allow the ComputeMode
server to access machine outside your LAN and maybe even the Internet if your
intranet configuration allows it. This may be useful for to fetch updates or new packages for
instance.
If you specify a DNS, it will allow the ComputeMore server
to be aware of the naming of the other machines of your intranet, which may be
convenient, too.
Once your choice is done, press "OK".
Then you are shown with a summary of your configuration.
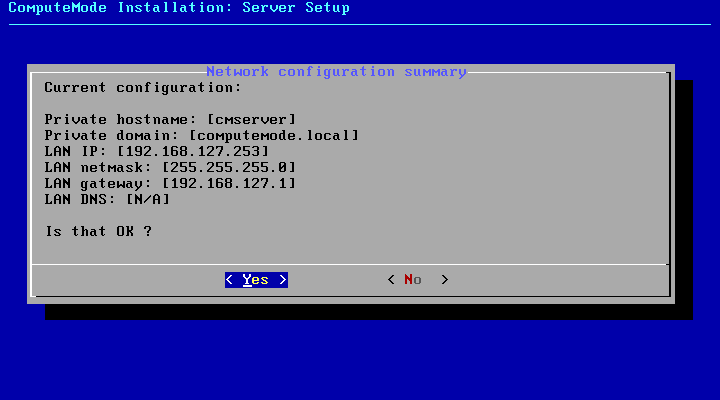
You have to press "OK" to resume the installation or "No" to edit again the networking parameters.
- Several non-interactive screens will follow till you are eventually shown with the final screen.
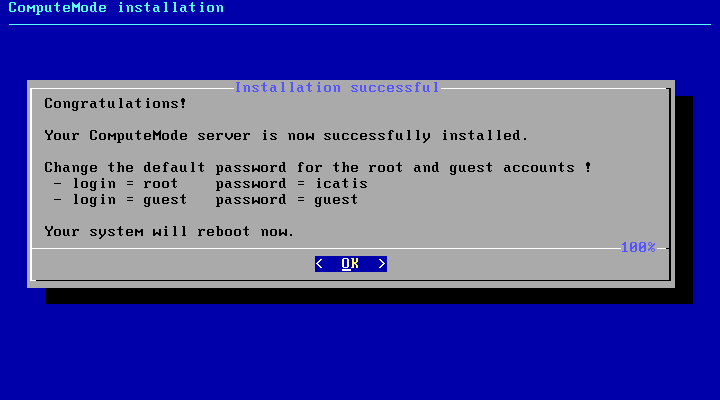
Press "OK", your server will now reboot.
- The ComputeMode server is now about to start. You are shown with a GRUB bootmenu such as the one below:
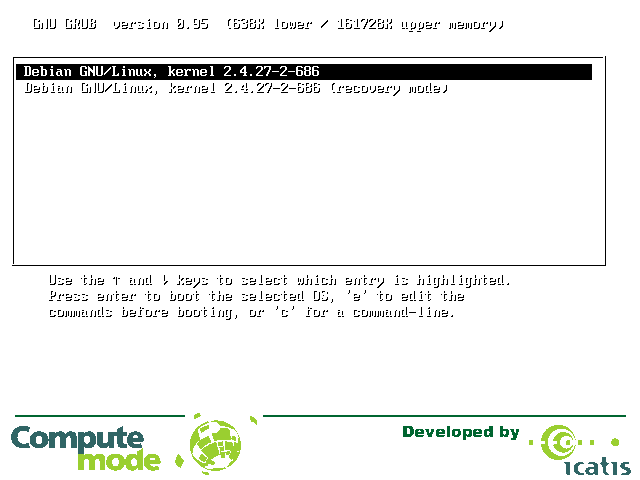
Press Enter to select the default menu item, or wait a few seconds.
- The Linux system will now boot and take you to a login prompt.

You may log in as root (password = icatis) and
as guest (password = guest).
Note 1: If that does not work, make sure your keyboard settings are OK (for instance try 'icqtis')
Note 2: It is not currently mandatory but YOU ARE STRONGLY ADVISED to change the default Unix passwords using the 'passwd' utility.
Note 3: It is not currently mandatory but YOU ARE STRONGLY ADVISED to disable the guest account when your system correctly functions using the 'passwd -l' utility.
Stage 2: Accessing the ComputeMode™ server administration interface
- TO BE WRITTEN
Stage 3: Adding your first nodes to the infrastructure
- TO BE WRITTEN