ComputeMode server appliance
This page describe how to use ComputeMode server appliance.
Note: This applicance can be used as is for test/evaluation purposes, as well as for a real setup. However, one can also choose to install ComputeMode on top of an existing system, eventually on a physical machine. See ComputeMode on top of Debian Squeeze.
Download a virtual appliance
First we need to download the appliance. Please choose the one that meets your need.
| Virtualbox | 32bits | ComputeMode_Appliance_2.0_vbox_32bits.zip |
| 64bits | ComputeMode_Appliance_2.0_vbox_64bits.zip | |
| VMWare | 32bits | ComputeMode_Appliance_2.0_vmware_32bits.zip |
| 64bits | ComputeMode_Appliance_2.0_vmware_64bits.zip | |
| KVM | 32bits | ComputeMode_Appliance_2.0_kvm_32bits.zip |
| 64bits | ComputeMode_Appliance_2.0_kvm_32bits.zip |
Then, unzip the file.
Configuration of your new ComputeMode server appliance for VirtualBox
Installation of the ComputeMode server vitural machine in VirtualBox
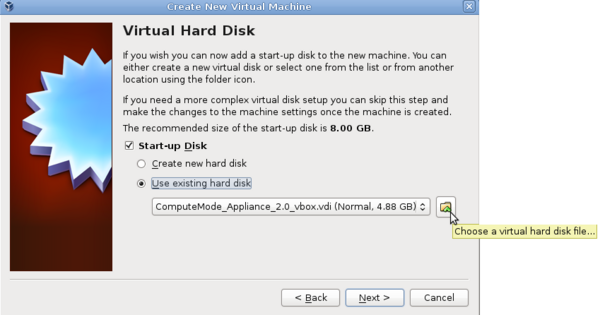
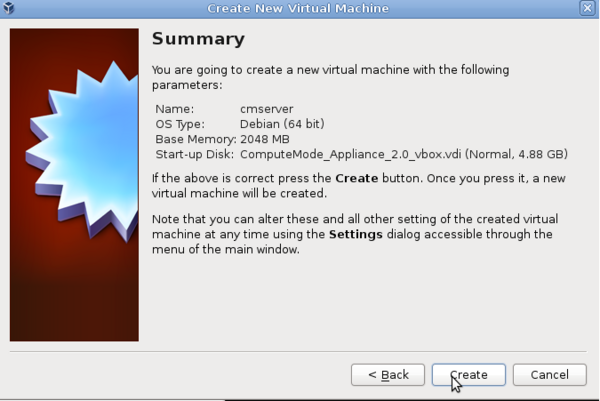
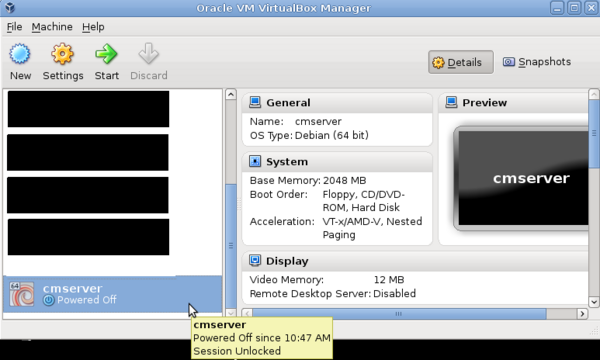
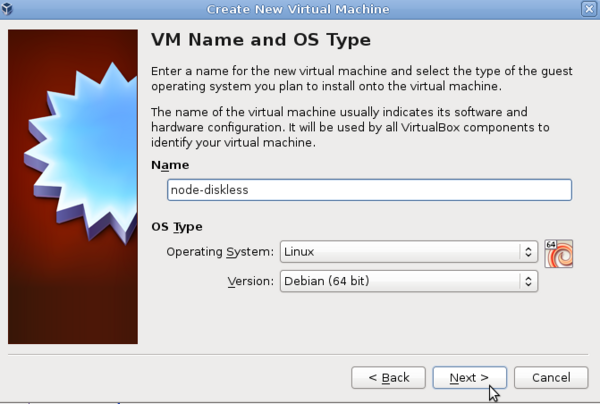
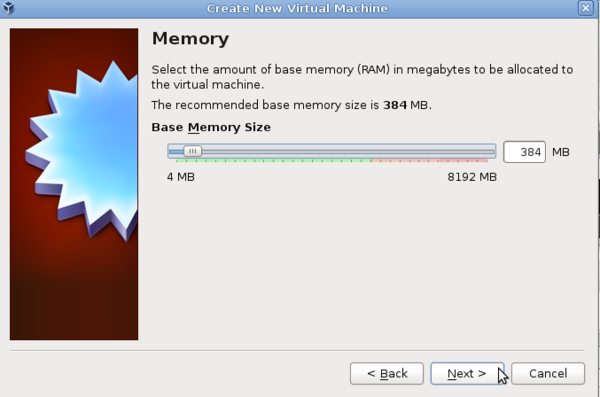
Create a new virtual machine


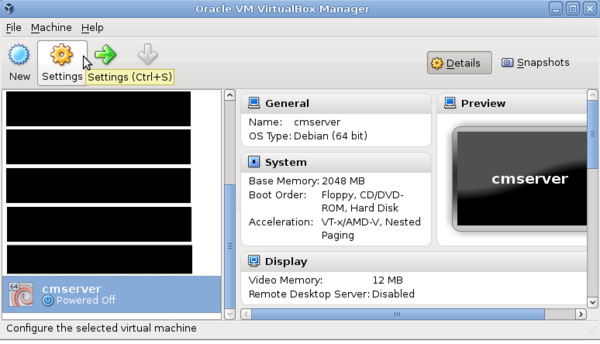
Configure the virtual machine's network
We advise to use 2 network interfaces (adapters):
- one for the network interconnection with the nodes
- one for accessing Internet (NAT)
(We assume here that the ComputeMode server's virtual machine will not get a IP on your LAN, just your workstation does)
Adapter 1: connection to the nodes
- If you plan to only use virtual machines for nodes, on the same host as the ComputeMode server virtual machine (everything on your workstation), please use a host-only network interface.
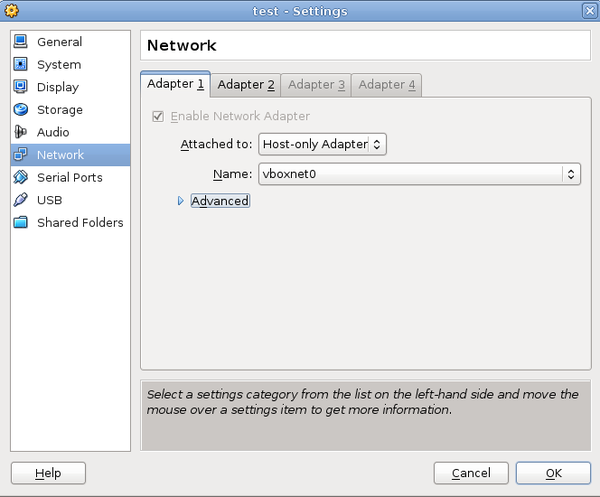
(In this case, ComputeMode won't be able to control real machines of your intranet, which is the safe choice if you don't really understand what you are doing)
- If you plan to control other physical machines of your LAN thanks to your ComputeMode server, then please use a bridged network interface. The interface must be bridged with the physical network interface that connect your workstation to your intranet (LAN).
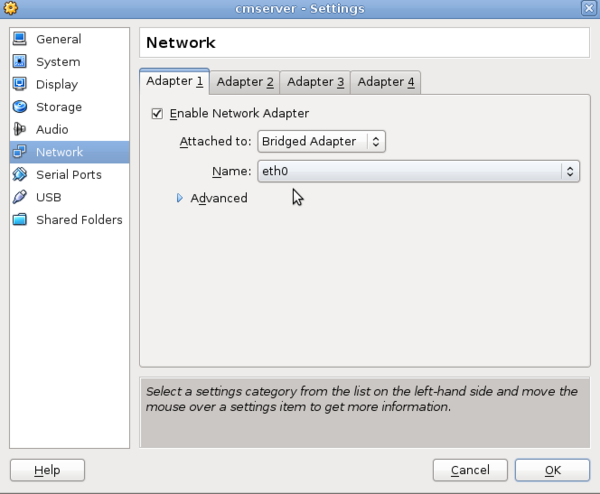
(Be careful: In this case you are exposing the services of ComputeMode to your intranet, which means a PXE server. This might cause serious issues if your intranet already provide a PXE service (netowrk boot). Please make sure you know what you are doing)
In any case, you will be able to access your ComputeMode server from your workstation via this interface.
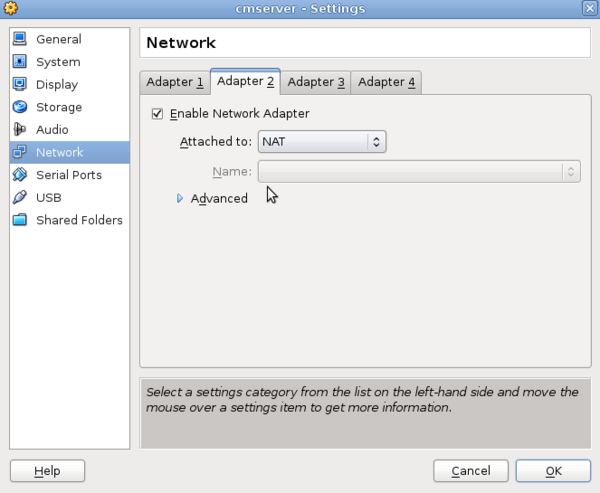
Adapter 2: access to internet
Configure a second network interface with NAT, to allow the cmserver to access the outside world (to upgrade packages for example):
Configure the network, host-side (workstation)
Finally you have to configure your local network, host-side, in order to be able to access ComputeMode servers' administration interfaces via https or ssh, instead of using the Virtualbox virtual display.
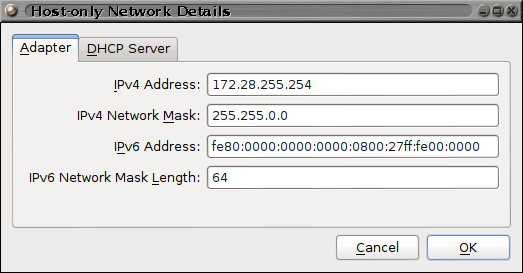
- If you are using a host-only interface for adapter 0, you must configure the Virtualbox interface of the host (e.g. vmnet0) within ComputeMode's IP network. This can be achieved in Virtualbox global network settings, in menu: File > Preferences > Network > vboxnet0. You can use 172.28.255.254/255.255.0.0.
- If you are using a bridge interface for adapter 0, you must configure a secondary network address to the physical interface (e.g. eth0), with the IP: 172.28.255.254/255.255.0.0. This can be done in gnome network-manager for instance or in /etc/network/interfaces as follows:
# The host-only interface:
auto eth0:0
iface eth0:0 inet static
       address 172.28.255.254
       netmask 255.255.0.0
Finishing the installation
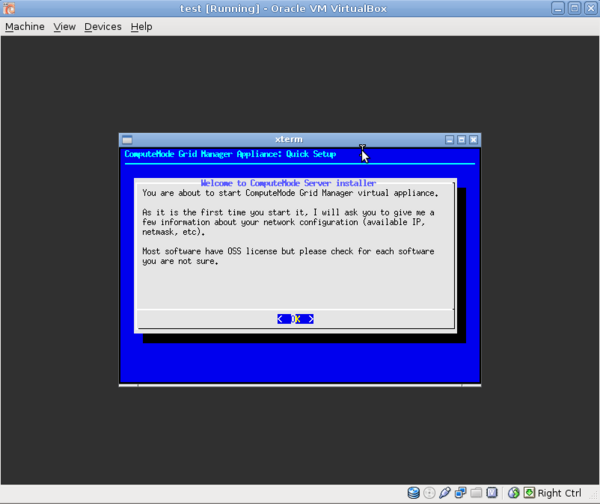
- You can now start your appliance and log-in with the following credentials (US keyboard map)
login: root
password: icatis
- Upon login, a dialog is opened ask for information to configure the system environment (this script is named cmaskconfig). Both the environment of the nodes (in the /cm directory) and the cmserver will be configured. As a result, you will have to provide two times the configuration of timezone, keyboard mapping, locales [...].
- Finally edit (right clic on the desktop to launch a X terminal) the /etc/network/interfaces file in the root filesystem of the ComputeMode server and configure the network interfaces as follows:
# The bridged/host-only interface:
auto eth0
iface eth0 inet static
       address 172.28.255.253
       netmask 255.255.0.0
# The NATed interface:
auto eth1
iface eth1 inet dhcp
- We are done: reboot the machine to complete your installation
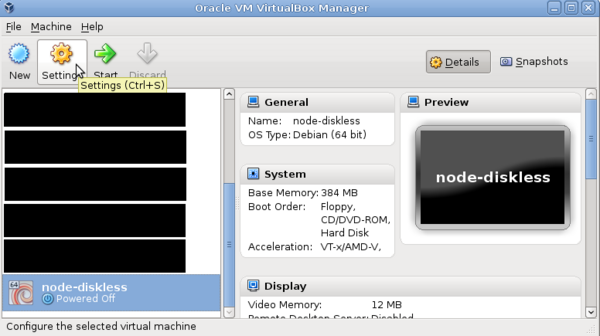
Create nodes using virtual machines to test the appliance
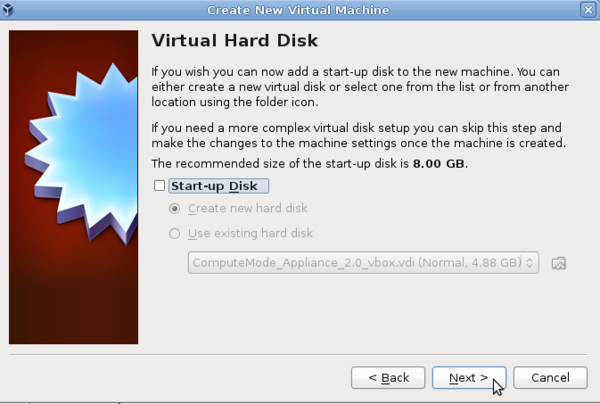
- You can quickly create a diskless node for the ComputeMode cluster, as follows:
- and then configure the network of this node:
If your server is configured with a bridged interface, you have to configure a bridged one for the node:

If you are using a host-only interface for your server, you need to use the some configuration for your node:
And to finish configure the boot order of your node to set the network boot in first:

Configuration of your new ComputeMode server appliance for KVM
Installation of the ComputeMode server appliance for KVM
You can use the basics KVM/QEMU softwares to configure your cmserver appliance:
- Installation of the KVM/QEMU software under a Debian Squeeze:
sudo apt-get install qemu-kvm libvirt-bin
- Configuration of your user permissions:
adduser <youruser> kvm
- Run the following kvm command:
kvm -m 1024 --boot c -vga std -net nic /PATH/TO/THE/FILE/ComputeMode_Appliance_2.0_kvm.qcow2
Some explanations:
-m the memory size used for the virtual appliaces, here 1GB
--boot the boot order ot the virtual appliance, here the local hard disk
-vga  the configuration of your graphical driver
-net the definition of your network card
You can also configure a bridged network connection to access through SSH to your new server:
- Install missing packages:
apt-get install bridge-utils uml-utilities
- Edit your /etc/network/interfaces file:
auto lo
iface lo inet loopback
auto br0
iface br0 inet static
      address 172.28.255.224
      netmask 255.255.0.0
      broadcast 172.28.255.255
      bridge_stp off
      bridge_maxwait 5
      bridge_fd 0
      pre-up /usr/sbin/tunctl -u <username> -t tap0
      pre-up ifconfig tap0 up
      bridge_ports eth0 tap0
      post-down ifconfig tap0 down
      post-down tunctl -d tap0
- Restart your network:
sudo /etc/init.d/networking restart
- Launch the appliance:
kvm -m 1024 --boot c -vga std -net nic -net tap,ifname=tap0,script=no,downscript=no /PATH/TO/THE/FILE/ComputeMode_Appliance_2.0_kvm.qcow2
- You can customize your /etc/qemu-ifup script and /etc/qemu-ifdown script to manage users and tap devices and execute the previous command without the 'script=no,downscript=no' options.
How to test the computemode server
If you want to run some tests on your computemode server, you can follow this link: http://computemode.imag.fr/mediawiki/index.php/HowTo_test_cmserver